Art has always been a form of expression, and drawing is one of the most accessible ways to bring imagination to life. Whether you're an experienced artist or just starting out, creating beautiful drawings can be both fulfilling and therapeutic. Today, we'll focus on a timeless subject: angels. Angels have long symbolized grace, purity, and divinity, making them a popular choice for artistic representation. Let's dive into how even beginners can master drawing these celestial beings with ease.
With the right guidance and tools, anyone can learn to draw stunning angels step by step. This article will provide simple techniques that break down complex figures into manageable parts, ensuring success for artists of all levels. From basic shapes to intricate details, our guide will walk you through every stage of creating a breathtaking angelic masterpiece. So grab your pencil and paper—it's time to let your creativity soar!
Creating art doesn't have to be complicated, especially when it comes to drawing angels. In this tutorial, we'll explore easy methods to help you craft a beautiful angel even if you're new to drawing. By focusing on fundamental principles and providing clear instructions, we aim to make the process enjoyable and achievable for everyone. Let’s get started with some essential tips and tricks to bring your angel to life.
From Stitch to Serenity: Transforming Characters into Angels
If you've ever wondered how to turn playful characters like Stitch into graceful angels, this section is for you. The key lies in understanding proportions and adapting features to fit the angelic theme. Start by sketching the basic outline of the character, keeping their unique traits intact while incorporating softer lines to evoke serenity. For instance, instead of sharp edges, use gentle curves to define the face and body.
Next, focus on adding elements that distinguish an angel, such as flowing hair and delicate wings. These additions not only enhance the visual appeal but also convey a sense of otherworldliness. Remember, simplicity often works best—sometimes, just a few well-placed lines can transform a mundane sketch into something extraordinary. Experiment with different styles until you find what resonates with your vision.
Finally, personalize your creation by infusing it with your own artistic flair. Perhaps you'd like to add symbolic accessories or experiment with color palettes. Whatever direction you choose, embrace the journey of discovery and enjoy the process of bringing your ideas to life. Your interpretation of an angelic figure is as unique as your imagination allows.
Capturing Grace in Every Stroke: A Minimalistic Approach
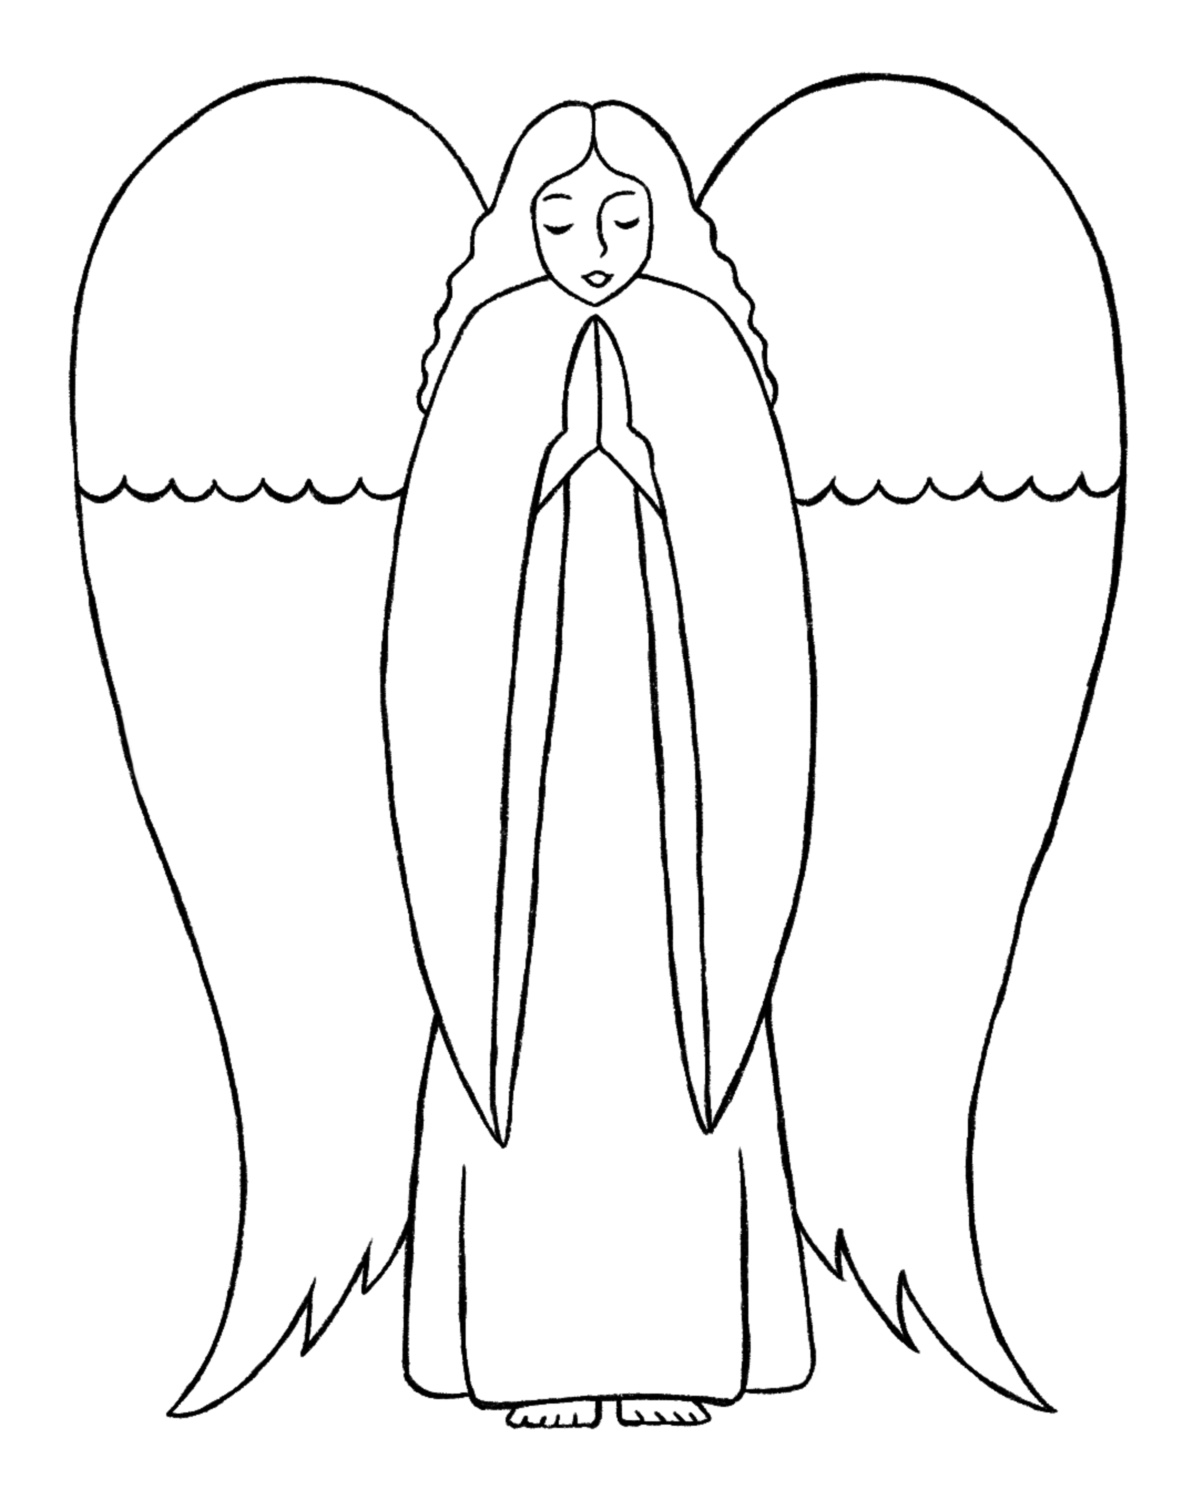
When aiming to capture the essence of an angel, less is often more. A minimalistic approach emphasizes elegance and simplicity, allowing the viewer's mind to fill in the gaps. Begin by outlining the main features using light, fluid strokes. Focus on the face first, paying attention to symmetry and proportion. Eyes, in particular, play a crucial role in conveying emotion and spirituality, so take extra care in shaping them.
Once the facial structure is established, move on to the body. Use elongated lines to suggest movement and flow, avoiding rigid angles that might detract from the ethereal quality. Consider the posture carefully; angels are typically depicted with open gestures, inviting and peaceful. This stance reinforces their benevolent nature and adds depth to the composition.
Lastly, incorporate the wings, which serve as the defining characteristic of an angel. Instead of detailing every feather, opt for broad strokes that hint at texture and volume. This technique creates a dreamlike effect, enhancing the overall impression of grace and lightness. Practice varying your pressure and line thickness to achieve dynamic results.
Building Blocks of Angelic Artistry
For young children and beginners alike, breaking down complex subjects into basic shapes is an effective teaching method. Start with a circle to represent the head, followed by a triangle connected to it for the torso. This foundation provides stability and ensures proper alignment before moving onto finer details. Encourage experimentation with size and placement to develop spatial awareness.
As confidence grows, introduce additional components such as arms, legs, and hands. Rectangles work well for limbs, while smaller ovals can depict joints and fingers. Keep proportions consistent throughout the piece to maintain balance and harmony. Remind yourself or your students that imperfections are part of the learning process and contribute to individuality.
To complete the figure, refine the initial outlines and erase unnecessary guidelines. Add finishing touches like clothing or accessories if desired. Celebrate each milestone along the way, no matter how small, as progress builds momentum and fosters enthusiasm for future projects. With practice, these foundational skills will evolve into advanced techniques over time.
Unfolding Wings: Mastering the Art of Angelic Flight
Angel wings are perhaps the most iconic feature of these celestial beings, yet many aspiring artists find them intimidating. Fear not! Drawing wings can be surprisingly straightforward once you understand their anatomy. Begin by sketching two large oval shapes extending outward from the shoulders. These will serve as the framework for the wings' overall shape.
Next, divide each wing into sections using curved lines to mimic the natural layering of feathers. Within these segments, draw shorter lines radiating outward to indicate individual feathers. Vary the length and thickness of these lines to create dimension and realism. Don't worry about achieving perfection at this stage—loose, expressive marks often yield the most captivating results.
Finally, refine the edges and adjust any areas that need clarification. Shade lightly around the base of the wings to give them depth and anchor them securely to the body. As you become more comfortable with this technique, challenge yourself to explore different styles and variations, from majestic eagle-like wings to whimsical butterfly-inspired designs.
Bringing Heaven to Paper: Step-by-Step Guidance
This comprehensive tutorial offers everything needed to successfully draw an angel step by step. Start with preparatory sketches to familiarize yourself with the subject matter. Gather reference images and study various poses and expressions to inspire your work. Having a clear vision in mind helps streamline the creative process and minimizes frustration.
Utilize free printable resources such as coloring pages and templates to practice specific techniques without worrying about mistakes. These materials provide excellent opportunities to experiment with shading, coloring, and texturing while honing fundamental skills. Additionally, they serve as valuable tools for teaching younger audiences who benefit from structured exercises.
Remember, patience and persistence are vital ingredients in artistic growth. Embrace challenges as chances to improve and view setbacks as stepping stones toward success. Share your creations proudly and seek feedback from others to further refine your abilities. Together, let's spread joy and inspiration through the universal language of art.
Cute Creations: Simplifying Sonny Angels
Sonny Angels are adored worldwide for their charming appearance and adorable quirks. Capturing their likeness requires a slightly different approach compared to traditional angels. Begin by drawing a circular head topped with fluffy hair resembling clouds. Pay close attention to the facial features, emphasizing large eyes filled with innocence and wonder.
For the body, employ blocky shapes reminiscent of building blocks. Circles and rectangles suffice for constructing limbs and extremities, ensuring simplicity and consistency across the figure. When rendering hands and feet, think of them as tiny mittens rather than detailed appendages. This simplification preserves the endearing quality Sonny Angels are known for.
Finish off your masterpiece by accessorizing appropriately. Hats, bows, and other embellishments add personality and flair to your drawing. Consider exploring digital platforms where enthusiasts showcase their interpretations of Sonny Angels, gaining inspiration and expanding your repertoire. Who knows? You might discover a whole community eager to share and support your artistic endeavors.
